For the complete documentation index, see llms.txt. This page is also available as Markdown.

Drawing

The drawing page is built into Cherry Studio text-to-image tool: it generates images from text descriptions, with results similar to web services like Midjourney / DALL·E.Its main advantage is that it directly reuses the provider accounts already configured in Cherry Studio, so there is no need to register separately on each platform.

Enter Drawing

Click the one on the right side of the top tab bar + Open [Launcher], then click [Drawing].

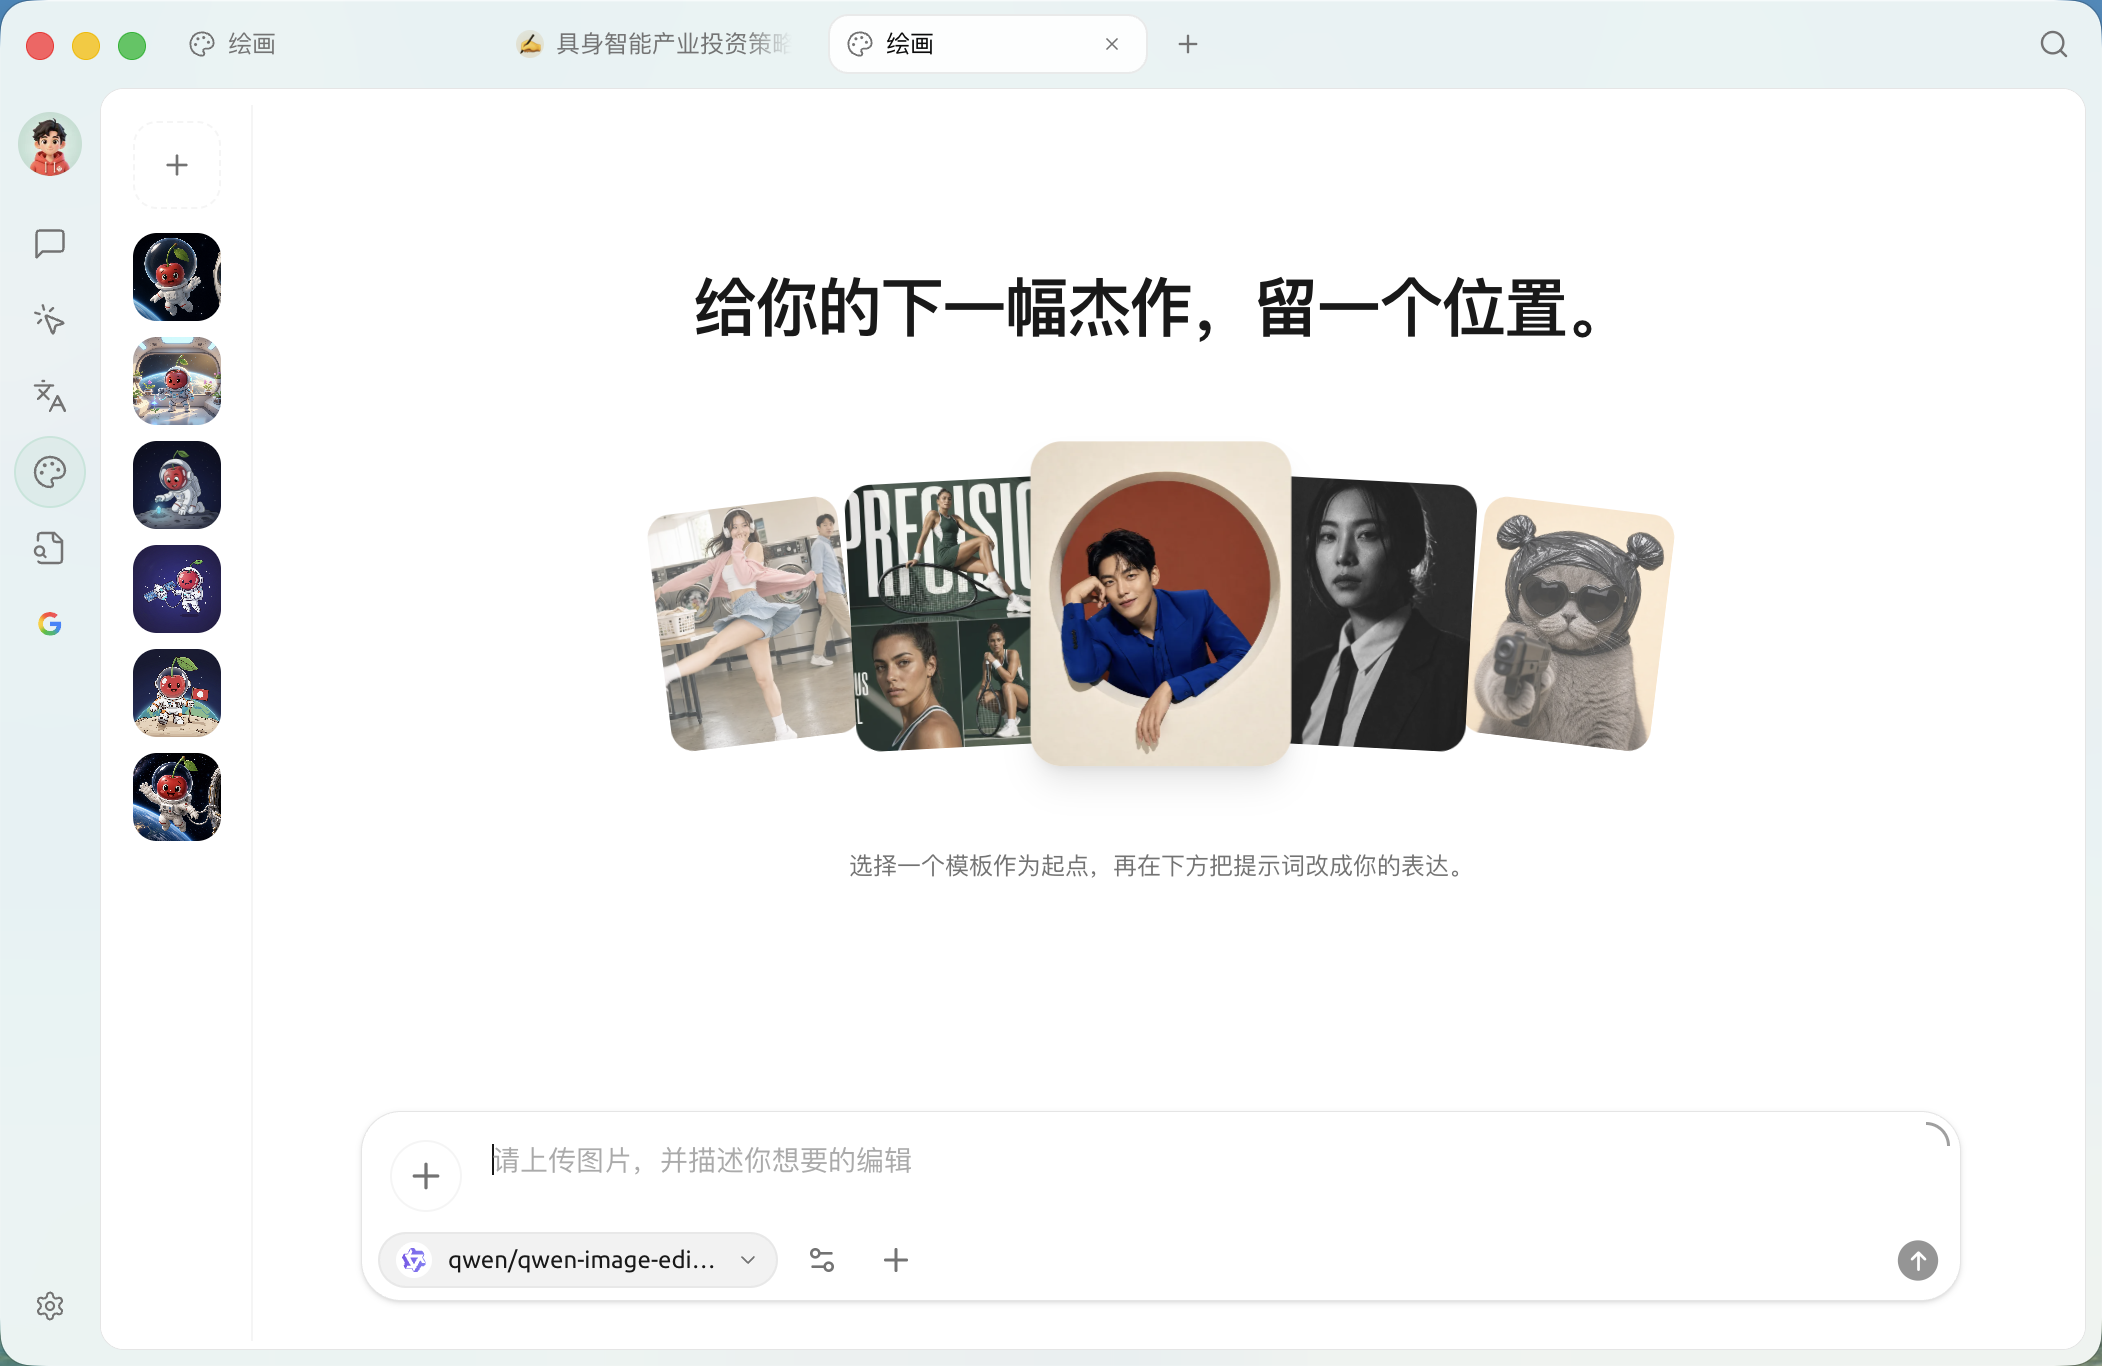
Drawing page: the left side is the board list, the middle is the canvas, and the bottom input area is where you select the provider and model
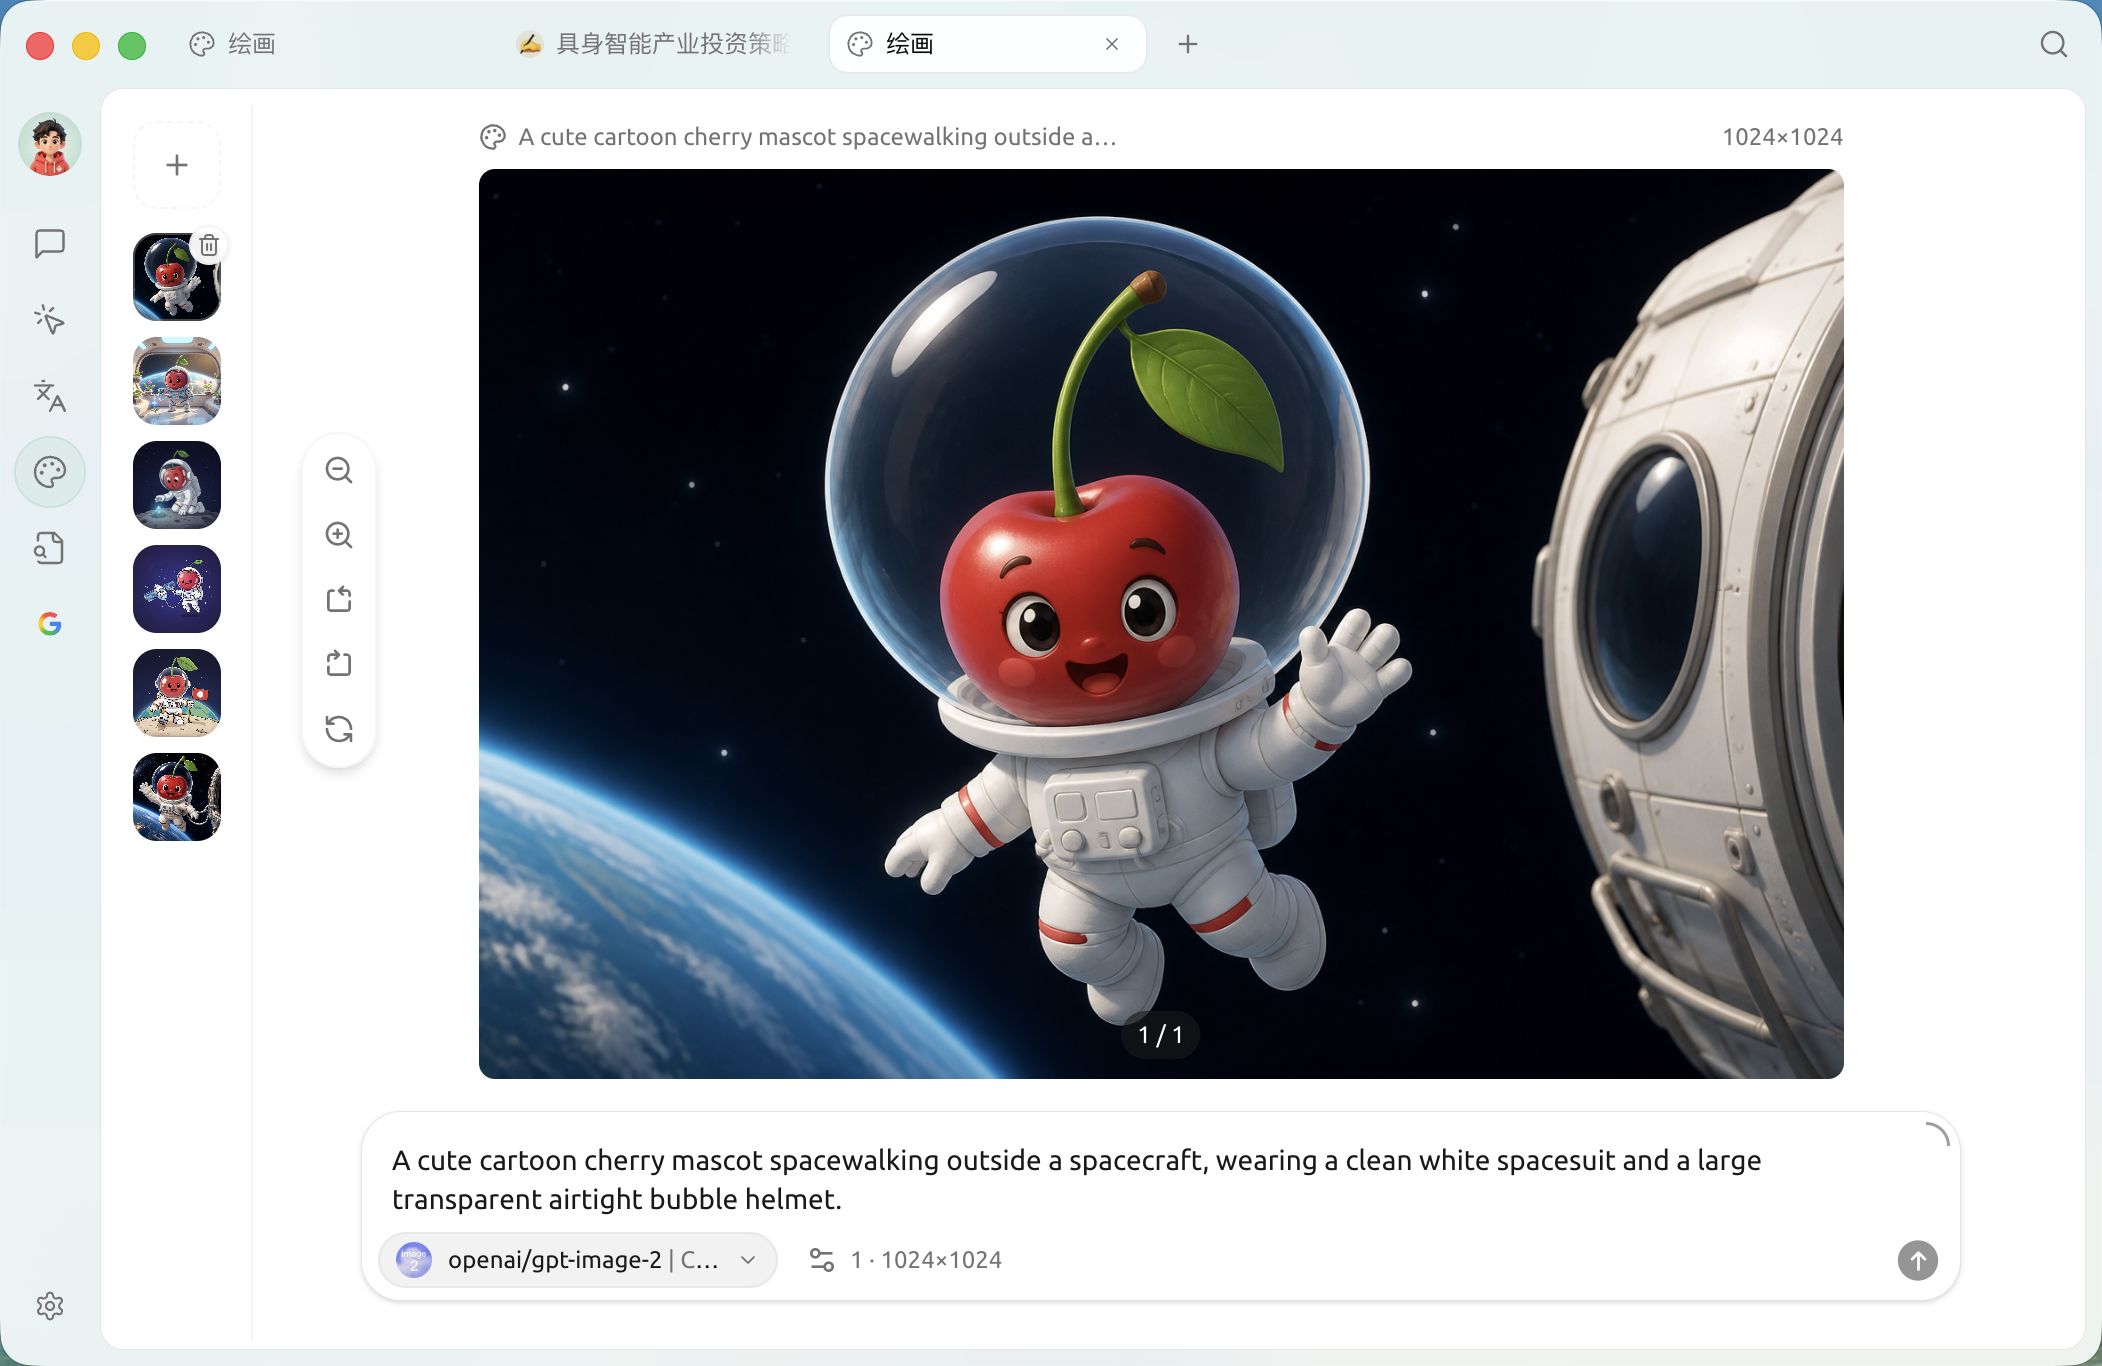
The page mainly consists of these parts:

  • Board list (left): vertically arranged board thumbnails, at the top + you can create a new board and switch to a new set of

  • Canvas (middle): displays the currently generated image centered

  • Input area (bottom): prompt input box, with one side providing provider and model selection entry; below it, a prompt shows whether the current provider has any available image models; when there are none, a green Go to Settings button jumps directly to that provider's configuration page

  • Draw / Edit: there is no separate toggle button,it is determined by the selected model— choosing a text-to-image model (such as qwen-image) means drawing; choosing an image editing model (such as qwen-image-edit) enters editing, where you must upload an image first and then describe the changes

Choose image editing model(such as qwen-image-edit) , the input area will switch to an “upload image + describe edits” mode:

After selecting an image editing model — you need to upload an image first, then describe how to modify it
Currently supported providers

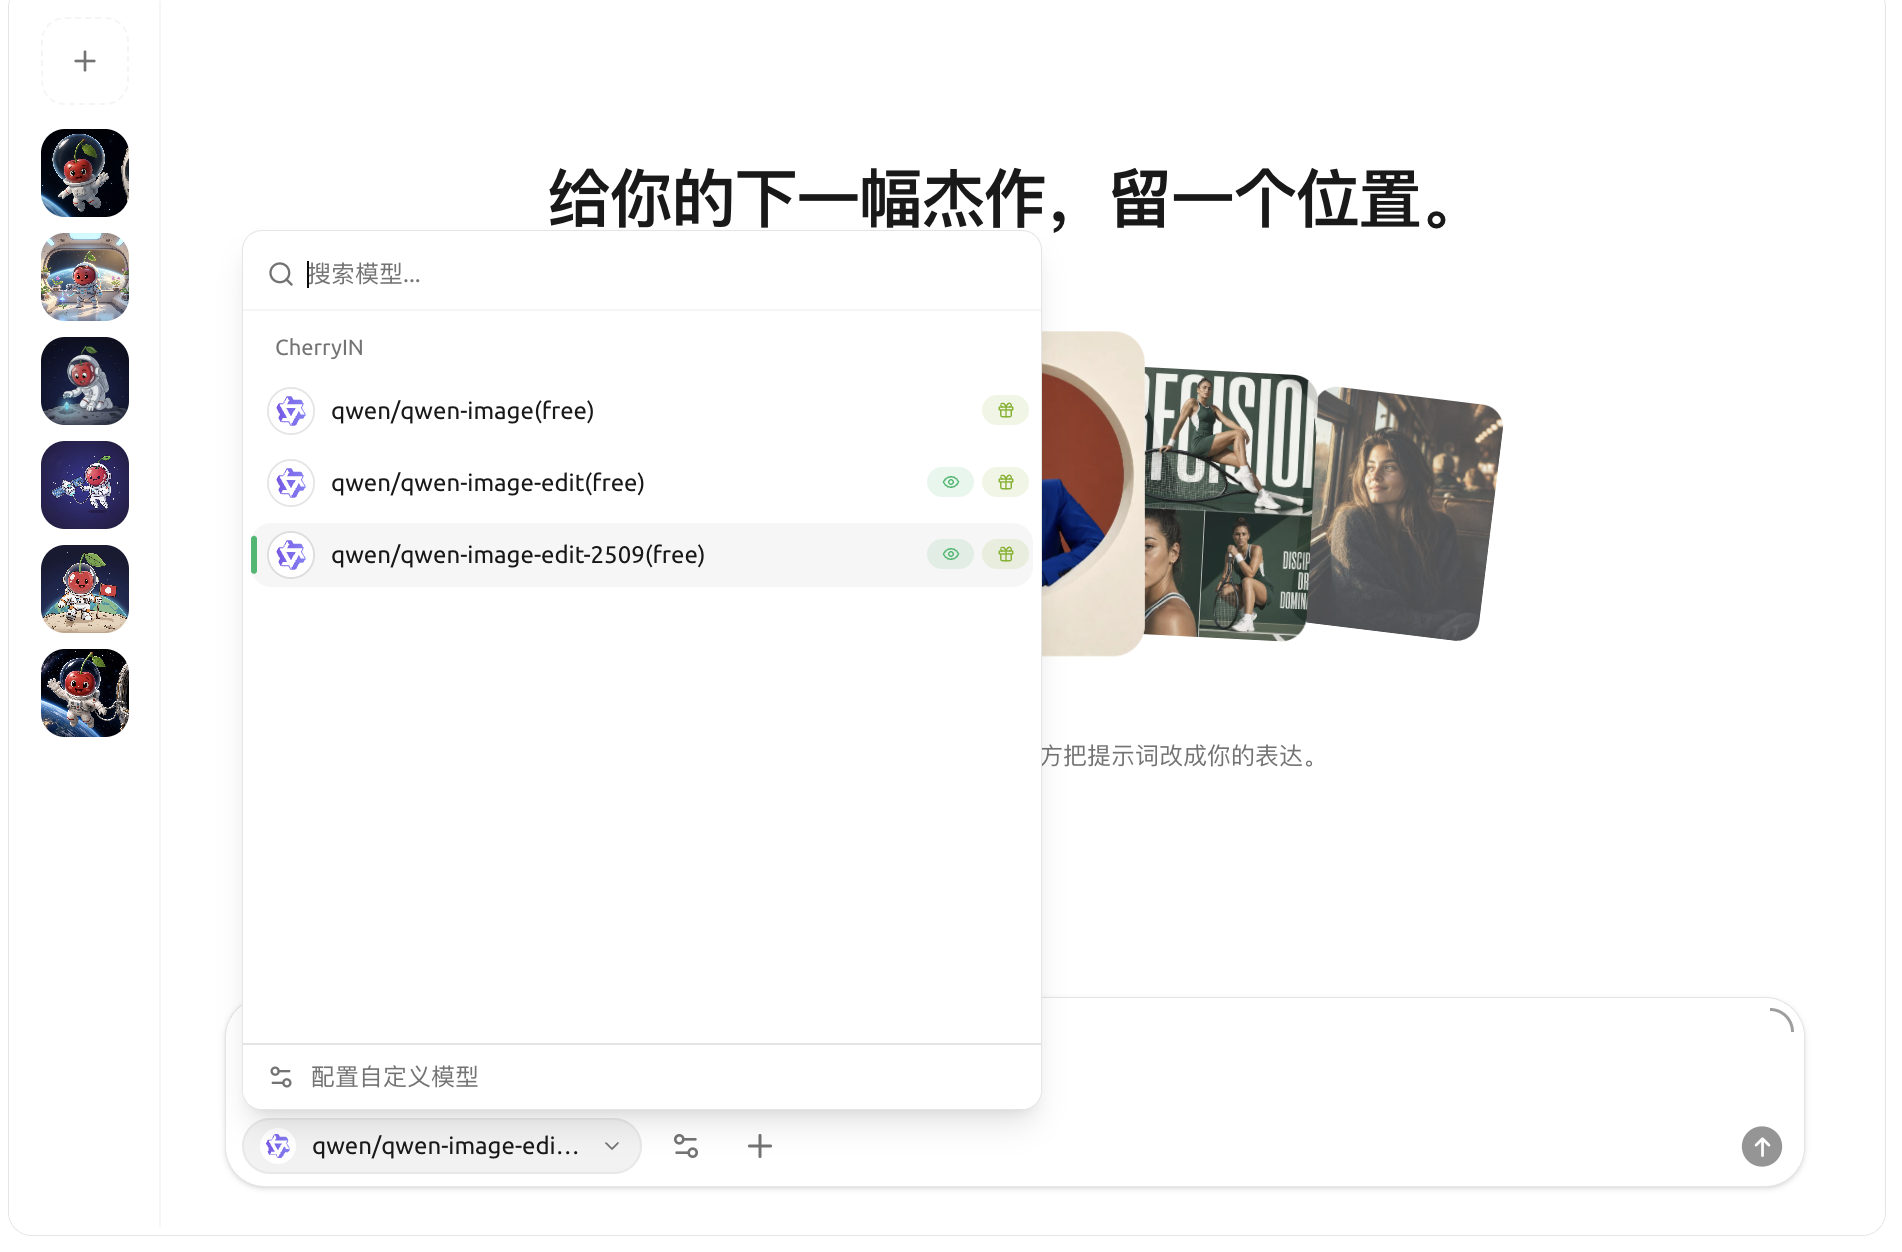
Cherry Studio's drawing feature relies on the image models. In the model dropdown, you can see all currently available options, listed by provider:

Model dropdown: available image models grouped by provider, with “Configure custom model” at the bottom

Broadly divided into three categories by type:

Type
providers
Explanation

Domestic cloud services

SiliconFlow

Easiest to access domestically, inexpensive, many model choices

PPIO

Domestic cloud compute services

Zhipu Open Platform

Domestic model CogView

Aggregation gateway

AiHubMix

Gateway that aggregates multiple vendors

DMXAPI

Gateway that aggregates multiple vendors

TokenFlux

Overseas gateway

CherryIN

Cherry official gateway, unified billing

Only AI (AiOnly)

Third-party gateways

Self-hosted / Local

New API

Self-hosted gateway solution; once added, it will appear in this list

OVMS

OpenVINO Model Server, local inference (shown only when OVMS is running)

Any endpoint type is set to Image Generation (OpenAI) custom providers of that type will appear here dynamically. More will be added later.

Start Drawing

  1. In the input area, select a configured provider and model; if it says “No available image generation models”, click Go to Settings add an endpoint of type Image Generation (OpenAI) model under that provider

  2. Choose a text-to-image model(such as qwen-image), enter in the input box Prompt(Chinese/English both work; the more specific, the better), for example:

  3. Adjust parameters (size, steps, random seed, etc.); if unsure, use the defaults

  4. Click Generate, wait a few seconds to several tens of seconds (depending on the model)

  5. The generated image will appear on the canvas and can be downloaded, favorited, or redrawn with one click

Don't want to select a model in the input area every time? Go to [Settings] → [Default Model] → [Drawing Model] to set a default image generation model(described as "model used for image generation"), and it will be used by default when drawing.

How do I fill in the parameters?

Some fields on the parameter panel have ⓘ info icons, and hovering shows a description (providers like SiliconFlow / Aihubmix / PPIO generally include them), but not all providers have tooltips—for example, the parameter panels for Zhipu and NewAPI do not show hints. If you can't see the explanation, just try the defaults below.

If you want to learn more:

  • Size: affects the amount of detail and generation time. 1024x1024 is enough for everyday use

  • Steps: the number of "refinement" iterations the model performs. 20–30 steps is usually enough; beyond that the marginal gain is small

  • CFG / Guidance: how obedient the AI is to your prompt. 7–12 is commonly used

  • Seed: a fixed seed makes results reproducible; leave it blank if you want random variations for the same prompt

Tips and tricks

  • English prompts usually work better(most models are trained mainly on English data)

  • The more specific, the better: include style, composition, lighting, and camera angle

  • Want to "modify based on a reference image"? See whether the provider you chose supports img2img(image-to-image)

  • Generate 4 images at once to save 4x time: set "batch count" to 4

Drawing features will expand with newer versions. The latest supported providers are subject to the in-app dropdown.


Get help and submit feedback

If you encounter any questions, bugs, or have suggestions for feature improvements during configuration or use, please refer to Feedback and Suggestions for the official channels provided.

Last updated

Was this helpful?