For the complete documentation index, see llms.txt. This page is also available as Markdown.

Agents

Agents let AI not only converse, but alsocomplete tasks autonomously.

Analogy:

  • In ordinary conversations, AI is like a colleague who can only give advice — you ask for methods, it tells you the steps

  • An agent is like a colleague with execution capability — you give it a goal, and it autonomously reads files, looks up information, calls tools, and completes the task step by step

Example scenarios:

  • "Organize all ~/Downloads PDF files into an Excel list"

  • "Look up today's headlines from mainstream tech media and generate a 5-point briefing"

  • "Review the specified Python file, provide improvement suggestions, and modify it directly"

  • "Automatically perform the above tasks every day at 9:00 AM" (combined with scheduled tasks)

Recommended reading first Concepts introduction clarify the relationship between Assistant / Agent / Skills / MCP / channels.

Two preparations before starting

1. A Provider that supports the Anthropic protocol

Agents rely on a conversation style in the form of "tool calls"; the most mature implementation is the Anthropic Claude series of models. Therefore you need a model provider that offers this protocol; recommended options:

  • CherryIN(most convenient): a single account can support both normal conversations and agents

  • Anthropic official: use a Claude account directly

  • Other mainstream AI gateways (such as OpenRouter)

2. Enable the API server

Cherry Studio needs to run an internal service locally to host the Agent. Operationally, you only need to click the start button in Settings → API Server and see API server.

Step 1: Configure an Anthropic-type Provider

Open Settings → Model Services, find (or create) a Provider that supports the Anthropic endpoint:

  • Fill in API key

  • Confirm API address points to the correct Anthropic endpoint (CherryIN default https://open.cherryin.cc)

  • Click Get model list, add at least one chat model (such as claude-sonnet-4 / agent/deepseek-v4-pro etc.)

CherryIN configured and agent model added

Users subscribed to Claude Code can directly enter the Anthropic key and endpoint into the corresponding fields to obtain the model.

Step 2: Enable the API server

Open Settings → API Server, confirm the port and key, then click ▶ Start. See detailed instructions API server.

The API server must be running for the Agent to work

Step 3: Enter the Agent page

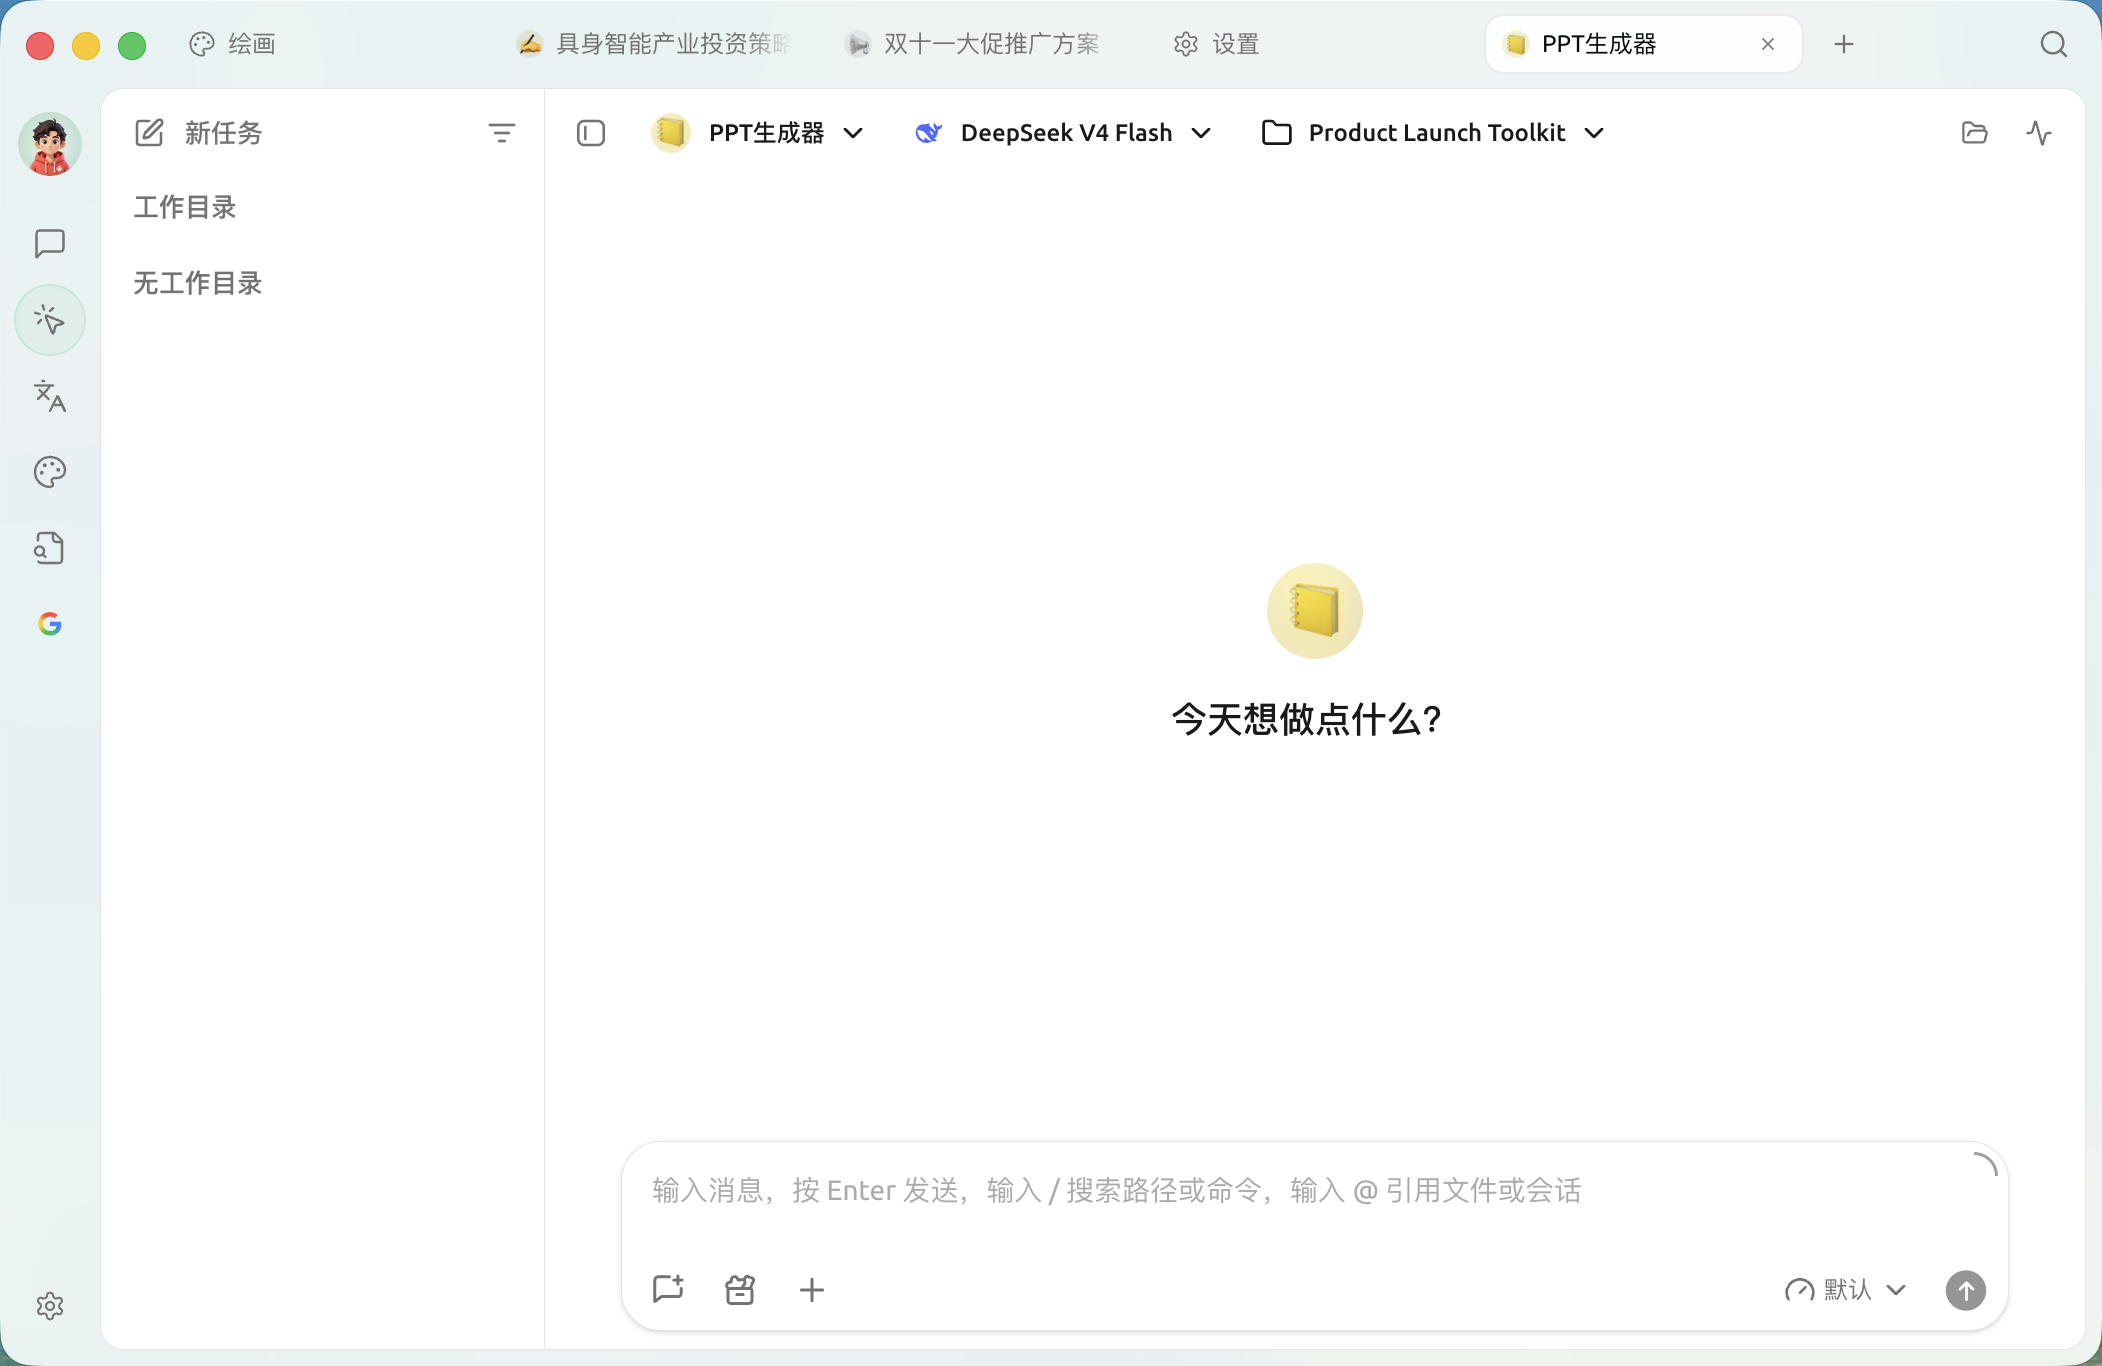
click agentsin the top tabs. Cherry Studio has built-in Cherry Assistant and Cherry Claw two agents that can be used directly, or based on your own needs create a new one.

Agent page: left list + right conversation area

Step 4: Create a new agent

Click the + Agent button at the top of the left sidebar to open Add Agent form:

Add Agent form

Field descriptions:

Field
Explanation

Name

Display name of the Agent in the list

Model

Choose the chat model added under the Anthropic-type Provider in the previous step

Autonomous mode

A separate switch. When enabled, it will turn on the workspace soul.md custom identity, automatically inject task management tools, and disable interactive tools that are not suitable for unattended use.channel and scheduled tasks This must be enabled, and the permission mode set to fully automatic mode

Permission mode

Controls whether human approval is required when the Agent calls tools; see the table below. Default normal mode

Working directory

Local directories the Agent can read and write. If left blank, the default directory will be created automatically

After filling in, click Add to complete creation.

Step 5: Adjust the agent's prompt, tools, and skills

Click the ⋮ menu on the right side of the agent card → Edit, enter the full editing panel:

Agent editing panel (Basic Settings tab)

The tabs on the left correspond to different settings:

  • Basic settings: avatar, name, model, working directory, autonomous mode, heartbeat enabled, heartbeat interval, description

  • Prompt settings: edit the system prompt, which determines the Agent's role and conversation style

  • Permission mode: switch between 4 permission policies (see table below)

  • Tools: select the built-in tools the Agent can use, and mount tools from MCP servers as external tools

  • Skills: mount pre-installed Skills

  • Advanced settings: the maximum number of conversation turns and environment variables

Four permission mode options

Mode
Behavior
Applicable scenarios

normal mode(default)

Can freely read files; before editing files or executing commands, human approval will be requested

Everyday conversational Agent

Planning mode

Can only read files and make plans; cannot edit or execute commands

Let the Agent "come up with a plan" while you do the execution

Automatic editing mode

Can freely read and write files; approval is still required before executing commands

Let the Agent take over code / document editing while retaining control over commands

Fully automatic mode

All tools require no human approval

Channels and scheduled tasks must use this mode, and autonomous mode must also be enabled; fully automatic, autonomous-decision scenarios

Autonomous mode vs. permission mode:

  • Autonomous mode Determine whether the Agent canenter an "unattended, long-running task" form (load soul.md, inject task management tools)

  • Permission mode Determine whether the Agent howtool-call authorization is handled

The two are independent. To let the Agent automatically run scheduled tasks and send them to a Feishu group, you need:Enable autonomous mode + select fully automatic mode.

Step 6: Chat with the agent

Return to the Agent page and click the agent card to enter the conversation:

  • Enter a task in the input box at the bottom, for example, "Please help me convert ~/Downloads/report.md into a PPT outline"

  • The Agent will automatically determine which tools to call and whether multi-turn reasoning is needed

  • The tool calls and decision process are displayed step by step as collapsible cards

Result display

Example of the Agent calling tools and returning results

Frequently asked questions

The Agent page shows "Please enable the API server to use Agent features"

Go back Settings → API Server, click the green ▶ Start button. See details API server.

No model appears in the dropdown when creating an Agent

  • Confirm that the selected Provider has at least one chat model added

  • Confirm that the Provider type is Anthropic or CherryIN(OpenAI-only Providers will not appear in the Agent model selection)

The Agent output suddenly stops

You may have hit the tool-call limit or the single-session length limit. Increase the maximum turns and the single-output token limit in the Agent settings.

Next step

  • Connect the Agent to IM platforms (Feishu / Telegram / QQ / WeChat / Discord / Slack) → channel

  • Let the Agent automatically execute tasks on a schedule → scheduled tasks

  • Expand tool capabilities → MCP tutorial


💡 Get help and submit feedback

If you encounter any questions, bugs, or have suggestions for feature improvements during configuration or use, please refer to Feedback and Suggestions the official channels provided there.

Last updated

Was this helpful?